MD and MT Setup
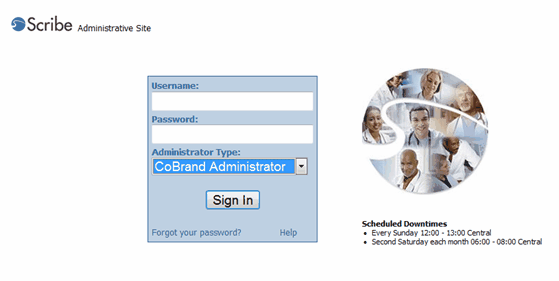
Go to www.scribe.com/adminxp. Log in using your CoBrand Administrator Username and Password. Please make sure your AdministratorType is set for “CoBrand Administrator.” Also noted on this page is the scheduled downtimes.
Please note the tabs to the right of the date. In this user guide, the MD Mgt and MT Mgt tabs will be covered. The Reporting Tab will be covered in the EZ Dictate Basic Operations Guide. Please note the Contracts and Production tab are not applicable to EZ Dictate. Click on the “MD Mgt” tab.
MD Management
Adding a New MD Group
To add a new group, click on “Group”.
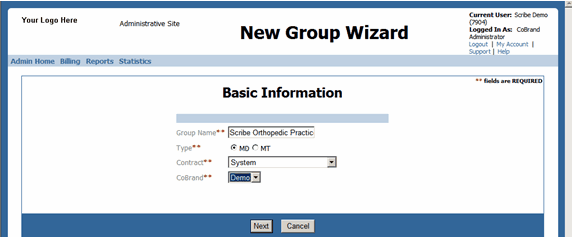
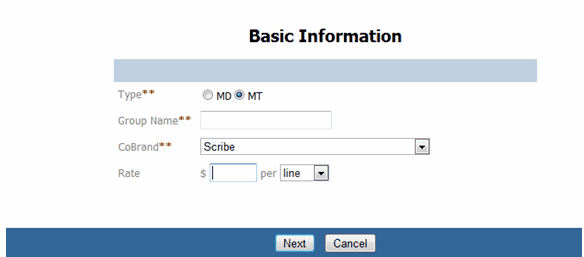
Enter the Group Name, select type MD, and select the applicable contract. The correct CoBrand will already be defaulted. Click “Next”.
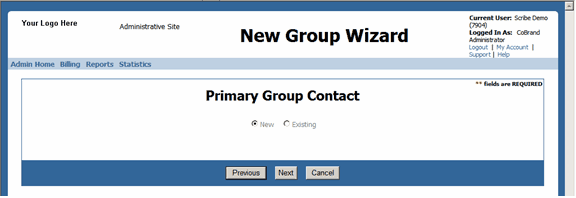
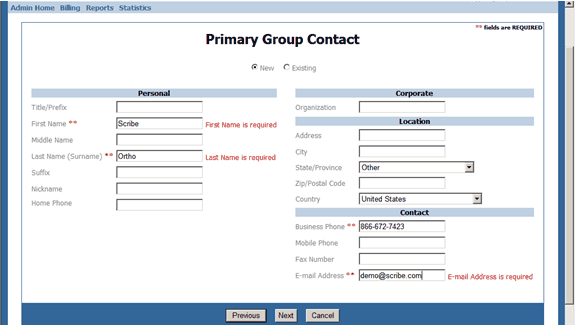
For Primary Group Contact (your client contact for this group), select “New”. Click “Next”.
Enter the contact information. Please note the required fields are first name, last name, business phone, and e-mail address. Click “Next”.
If you have users you want to add to this group and they are already in the system, you may add them here. If you do not have users set up yet, click on next.
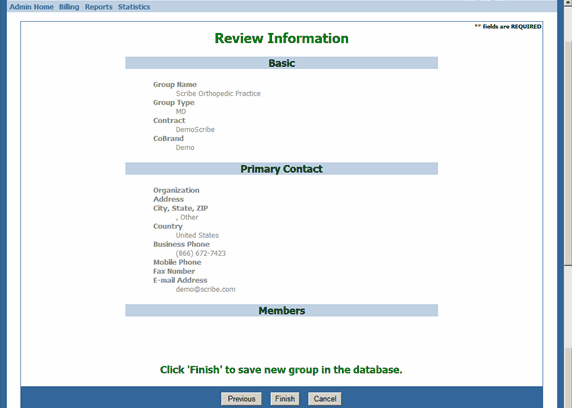
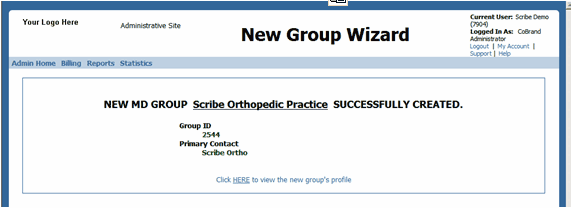
Here you can review the information. Once your review is complete, click “Finish”. If corrections need to be made, click “Previous”.
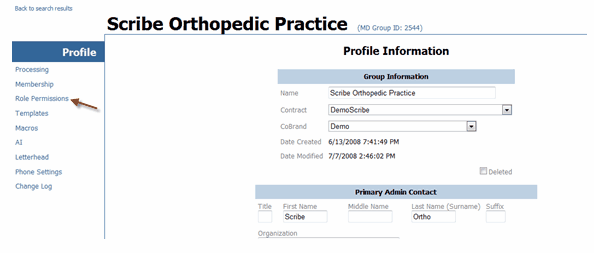
Setting the Role Permissions
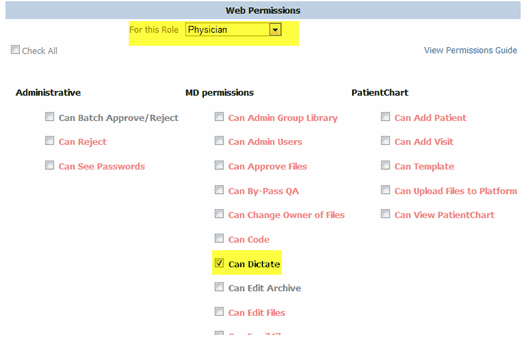
For the new group you added, set the role permissions. Click on ”Role Permissions.”
For EZ Dictate customers, you will only need to set the physician role. The only permission needed is “Can Dictate”. Click on “Save Changes” at the bottom of the page.
Setting the Processing for an MD Group
Before you can set up processing for the MD group you must first have an MT group set up. Please refer to the section “Create an MT Group.”
On the left of the screen click on “processing.”
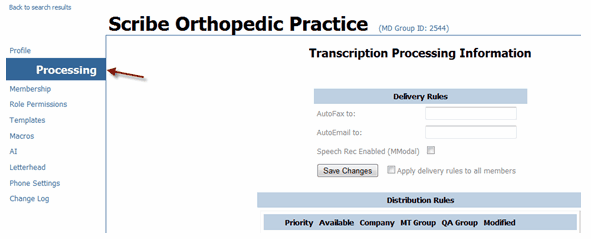
On the processing screen, go into the Distribution Rules section.
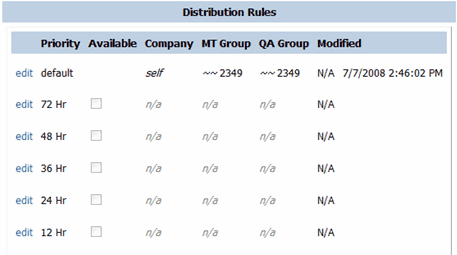
For EZ Dictate customers, you will need to set up the default, 48 hr and 4 hr priorities.
Click on “edit” on the left for each priority.
Click on each drop down arrow for 1 & 2 and choose your MT Group you created and then click on update (#3). Note: EZ Dictate users do not need a separate QA group.
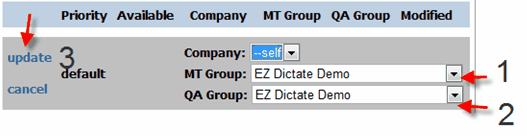
For MT Group and QA Group, select the MT Group name Scribe provided. Click on “update”.
Searching on Existing MD or MT Groups/Users
You can narrow down your search by selecting search criteria.
For example, to search for a MD or MT user with the name Queen, type “Queen” into the search criteria box. Select MD or MT from the dropdown menu for and click on “Search”. The user information will appear or you will be presented with a list of MD Groups and MDs with that search criteria.

Create an MT Group
***Anytime you add a NEW MT Group, you will need to inform your account manager to set up ftp processing.
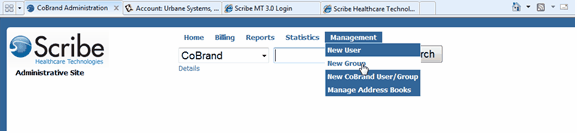
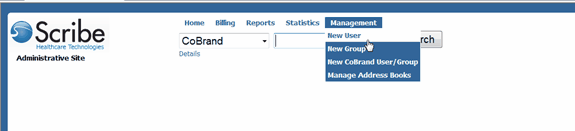
Start with clicking on management at the top of the page and scroll down to “new group.”
Choose the MT option and fill out the Group Name. Scribe recommends naming the MT group similar to the MD group. Do not fill anything in for the rate.
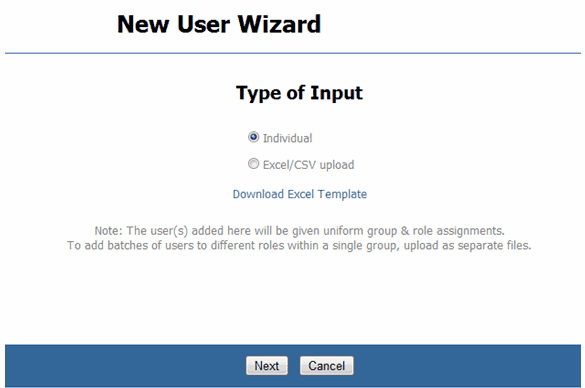
Follow the wizard and fill out the required information.
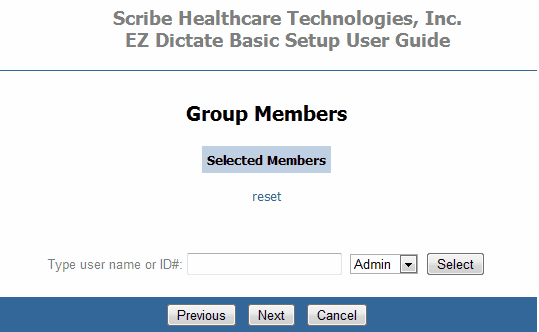
When you get to the group members screen, click on next next if you do not have any users to add to the group yet. If you do have users, you can add them now by entering a part of their name you used in setting them up, choose their role and then click on select. When finished, click on ”next.”
Review the review screen and click on “Finish” to save the group into the database.

Adding a User to an existing group.
Click on New “User”.
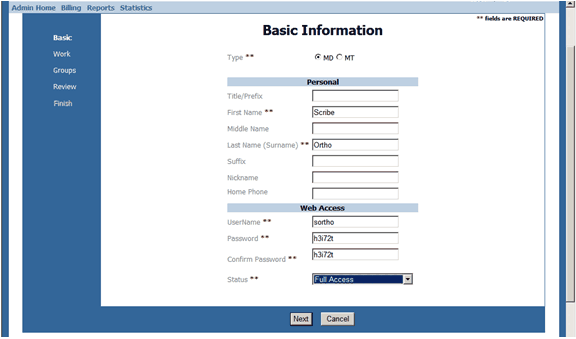
Select Type MD or MT, enter the required information. You may use the system generated password or change it. For status, we recommend using the “Full Access”. Click “Next”.
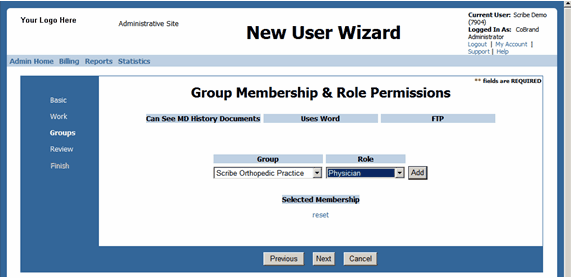
Select the group you want to add to the user and select the role you want the user to have and click “Add”. Once all the groups have been added, click “Add”.
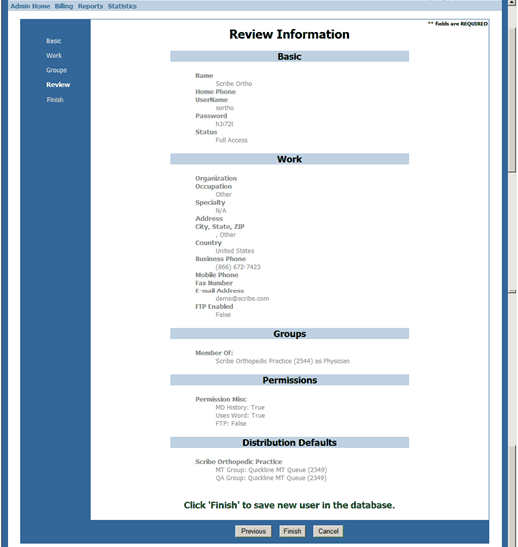
Here you can review the information. Once your review is complete, click “Finish”. If corrections need to be made, click “Previous”.
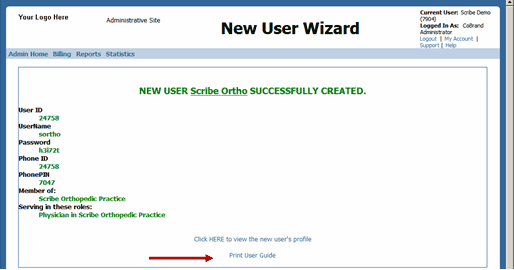
This screen shows you the user’s information. From here you can also print a user guide, by clicking on “Print User Guide”.
Adding an existing user to an MT or MD Group
Locate your MT group by doing a search at the top of the page. In this example, we are looking for groups that begin with “ez.”
![]()
Search results:

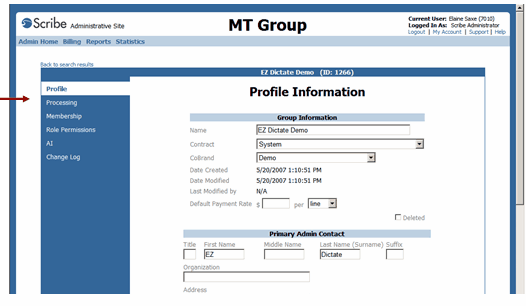
Choose the group you want and click on “view” to bring you to the profile page of the group.
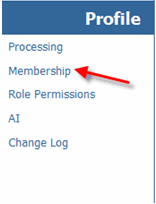
Click on “membership” on the left of the profile page.
Search by name to locate the user, choose their role (admin, MT), click on Add.

Adding MT Group Labels
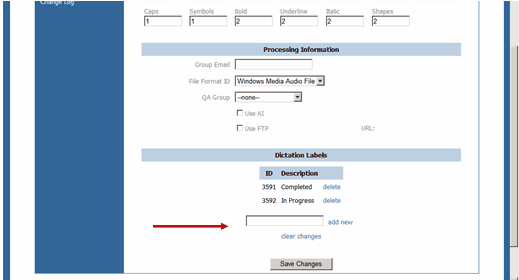
Locate the MT Group and click on “Processing”
Type in the new label name and click “add new”. When additions have been completed, click on “Save Changes”.
Rev 11/19/2009