1. Logon to the Scribe Admin Platform with your user name and password (choose MD or Cobrand Administrator from the "Administrator Type" draw down menu, depending on your access status)
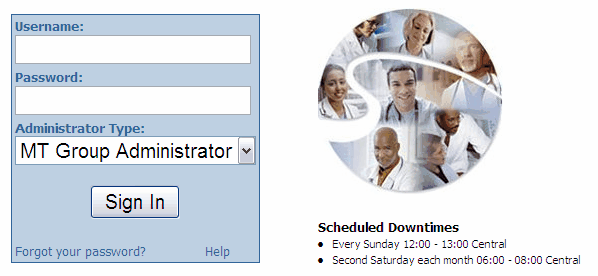
2. Search for the user you wish to load the signature for by choosing "MD" and typing in the user's name or Scribe user ID.

|
The user profile will appear.
NOTE: In order for eSignature to apply, the Attending Physician user must have the "Can Approve" Role Permission enabled in Adminxp.
For Dual Signature to apply, the Resident or Fellow must have the "Can Review" Role Permission enabled in the role Permissions section of their user profile in Adminxp.
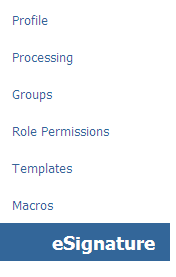
Choose eSignature from the menu on the left hand side of the page. |
3. Click on "Browse" to select the file from your hard drive (the file created using "Creating a Digital Signature"), then click "upload".
|

4. Be sure to click "turn ON" when finished, to activate the eSignature in the user's library.

5. You can view the signature you have uploaded by clicking on the .doc hyperlink (example 176.doc above) and choosing to "Open" the file. You can Replace the file by clicking "replace" and following steps 1 - 4 again.