Daily Operation
FTP
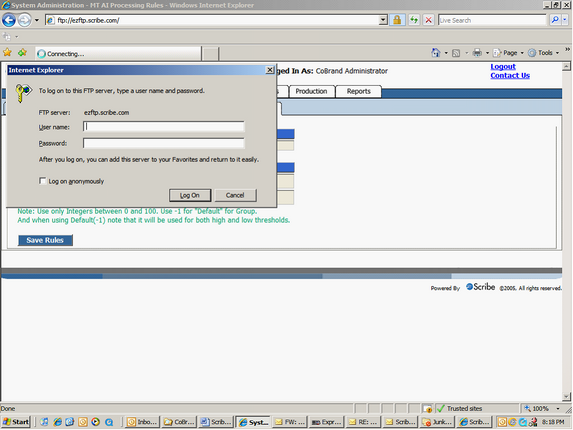
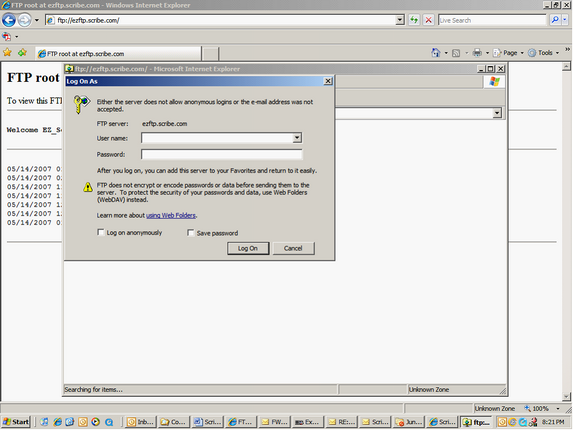
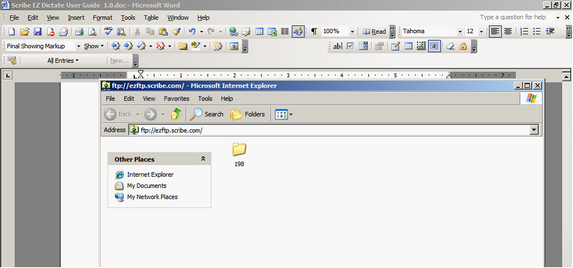
Once your clients have dictated either by phone or digital handheld recorder, the voice files will appear on the Scribe ezFTP site (ftp://ezFTP.scribe.com). Scribe will provide you with your user name and password. Please note the instructions for accessing the FTP site are different for Internet Explorer 7 and Internet Explorer 6.
Internet Explorer 7
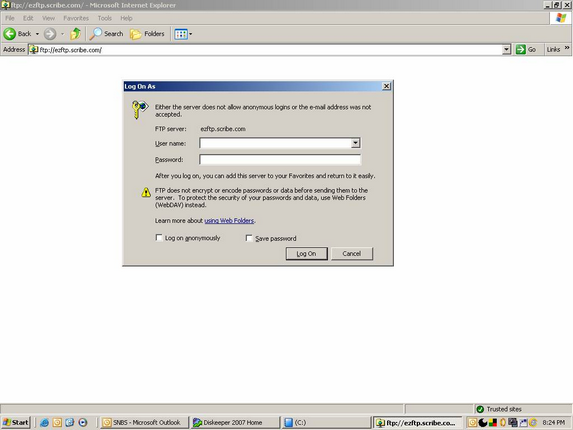
| 1. | Open Internet Explorer 7. Type in ftp://exftp.scribe.com. You will be prompted for your User name and Password. |
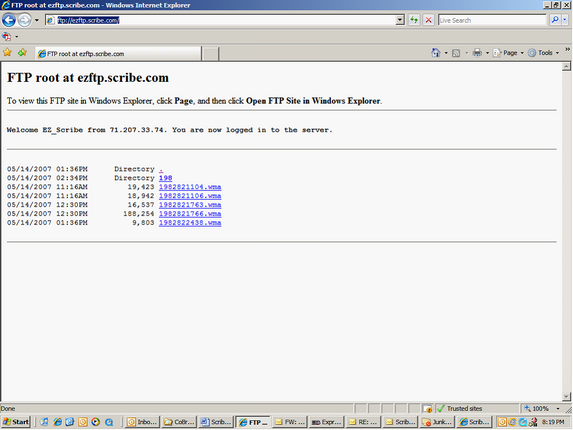
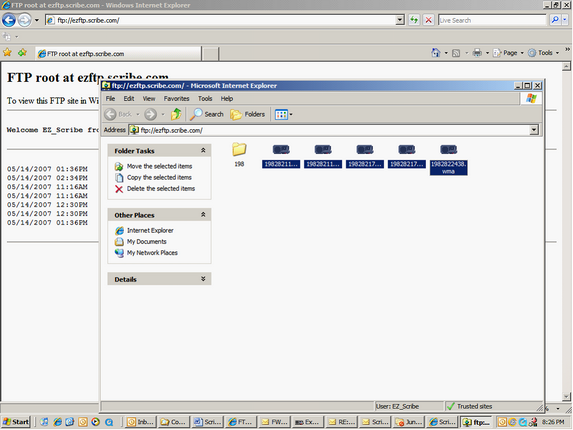
| 2. | Once your user name and password is accepted, you will see a screen similar to this. |
| 3. | Under the “Page” Menu select “Open FTP Site in Windows Explorer. |
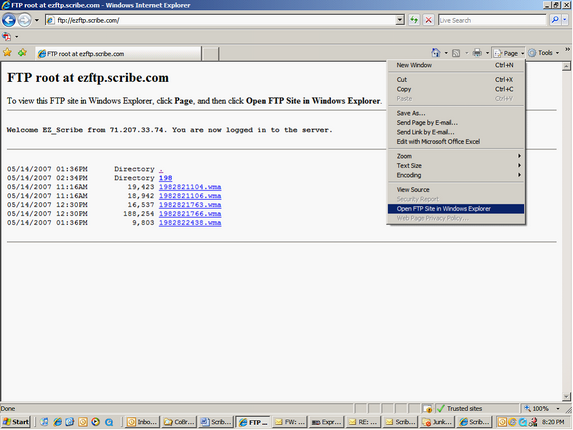
| 4. | You will once again be required to type in your user name and password. |
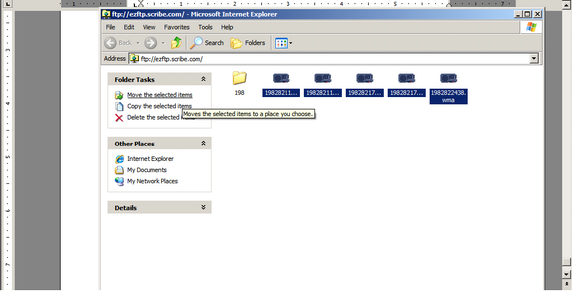
| 5. | If you are using multiple MT Groups, your FTP site will have multiple folders. These folders are named the MT Group number. Once the folder is opened, you can highlight multiple items and save them to your hard drive. |
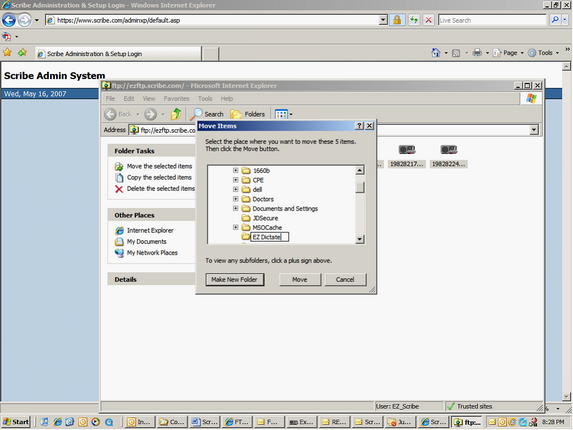
| 6. | Click on “Move the selected items” (Do not select “Copy the selected items”). |

| 7. | You can move the dictations to an existing folder on your hard drive or click on “Make New Folder”. |
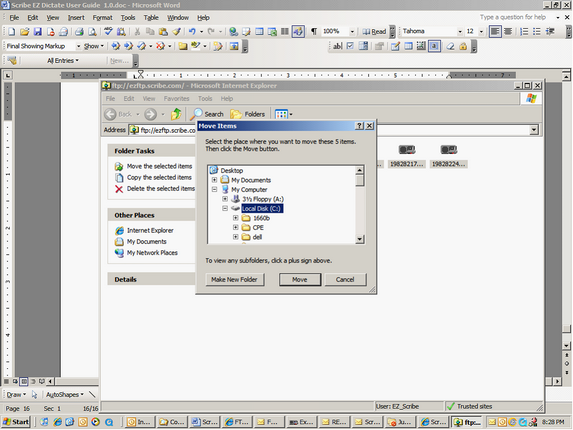
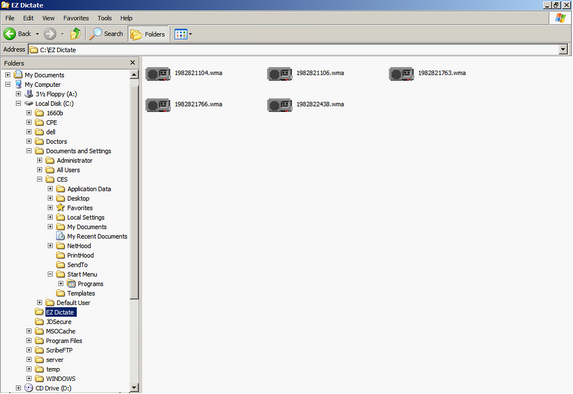
| 8. | If you are creating a new folder, type in the folder name and click the “Move” button. In this example, a new folder was created called EZ Dictate. |
9. Once the move is complete, the dictations are now on the hard drive.
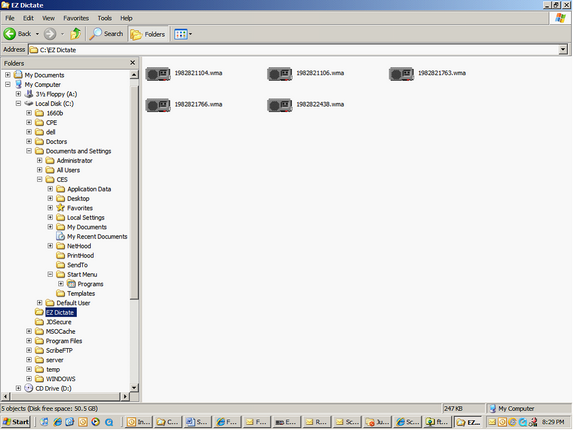
And not on the FTP site . . . . . .
Internet Explorer 6
| 1. | Open Internet Explorer 6. Type in ftp://exftp.scribe.com. You will be prompted for your user name and password. |
| 2. | If you are using multiple MT Groups, your FTP site will have multiple folders. These folders are named the MT Group number. Once the folder is opened, you can highlight multiple items and save them to your hard drive. |
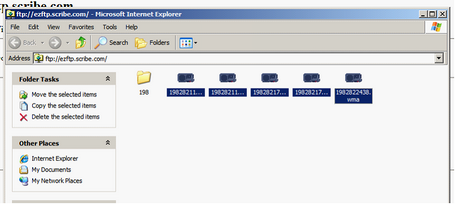
| 3. | Click on “Move the selected items” (Do not select “Copy the selected items”). |
| 4. | You can move the dictations to an existing folder on your hard drive or click on “Make New Folder”. |
| 5. | If you are creating a new folder, type in the folder name and click the Move button. In this example, a new folder was created called EZ Dictate. |
| 6. | Once the move is complete, the dictations are now on the hard drive |
And not on the FTP site . . . . . .
Daily Operation
MT Platform
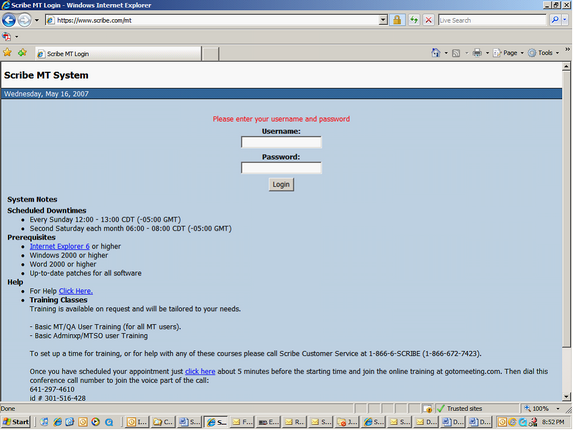
Navigate to the Scribe MT Platform (www.scribe.com/mt). Type in your username and password.
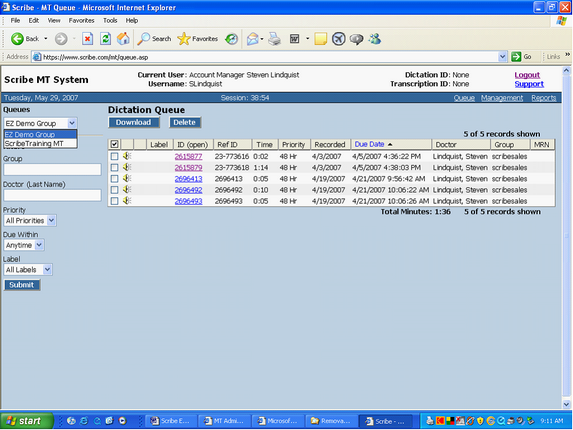
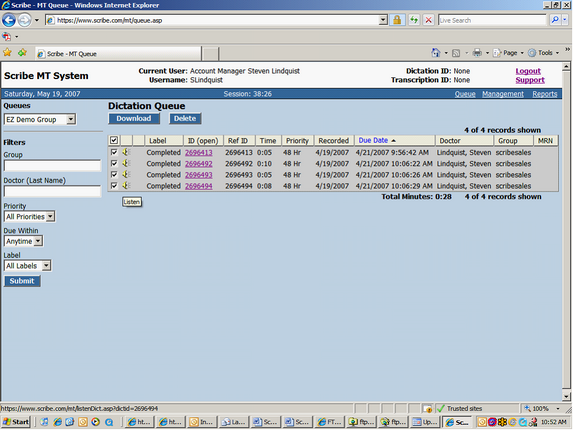
Listing of Voice Files Received
This will be the backup of the voice files that were on the FTP site. Select the desired MT Group/Queue from the dropdown menu. To listen to the duplicate voice file (original voice files are on the FTP site), click on the speaker. The voice file will open in your default audio player.
Labeling Dictations
| 1. | Click on the dictation ID. |

| 2. | Select the correct label from the dropdown menu. Click the “Back” button. |
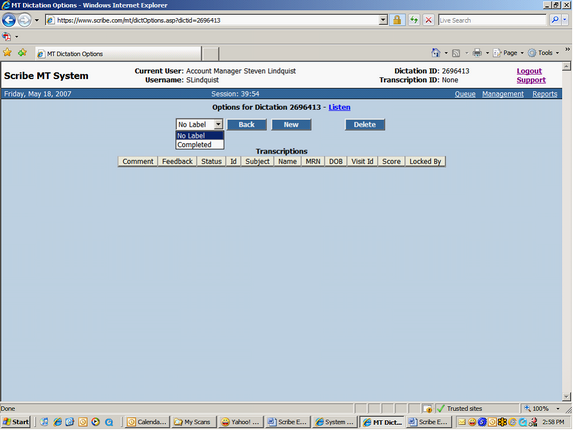
| 3. | The label will appear in the queue. |
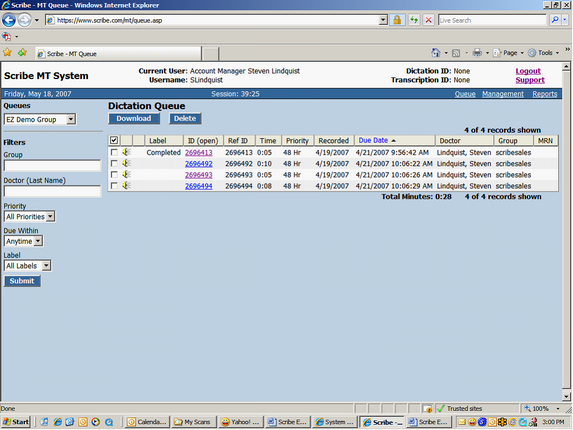
Deleting Dictations
Duplicate voice files (original voice files are on the FTP site) will be available for 30 days. After that time, you will want to purge your queue of any old dictations.
Place a checkmark by the dictations that need to be deleted by clicking on the checkbox and click the “Delete” button. This will remove the dictations from your queue.
MTSO Administration Daily Operation
Reporting
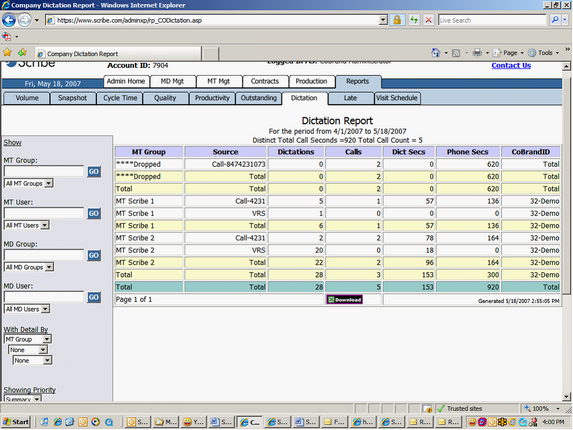
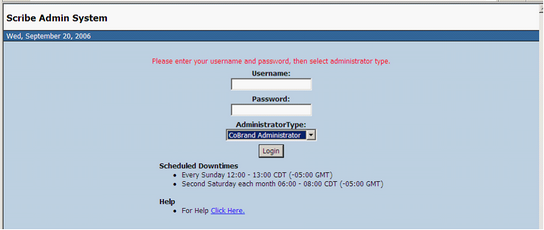
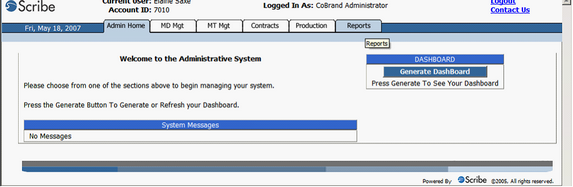
| 1. | Go to www.scribe.com/adminxp. Log in using your CoBrand Administrator Username and Password. Please make sure your AdministratorType is set for “CoBrand Administrator”. |
| 2. | Click on “Reports”. |
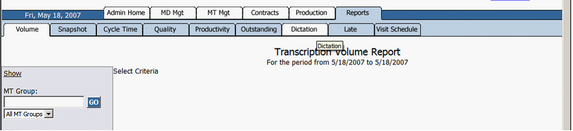
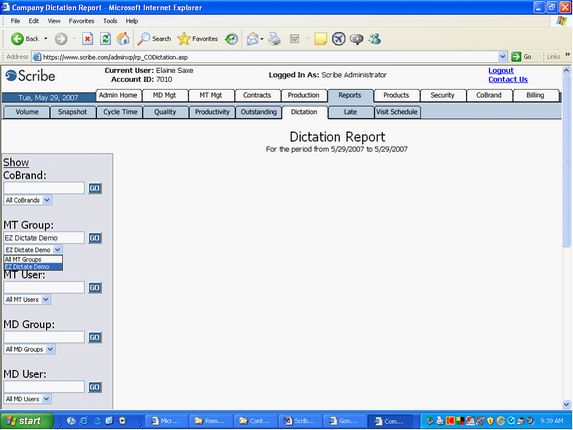
| 3. | Click on Dictation (the report applicable to EZ Dictate). It will default to today’s date. |
| 4. | To select a particular MT Group, type in the MT Group name in the MT Group field and click on “Go”. Then, select the desired MT Group from the dropdown menu. |
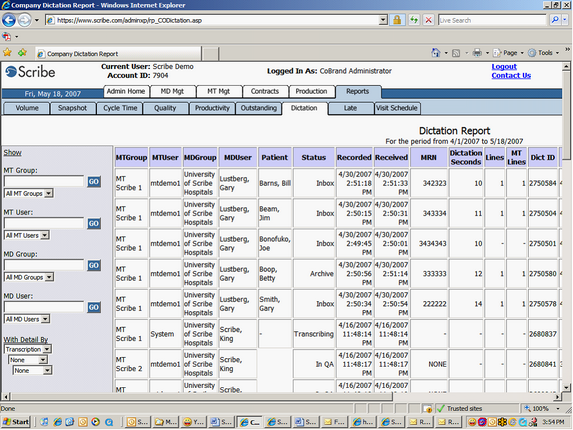
To change the date range, scroll down to “Starting” and “Ending” and type in the correct dates. In this example, the report includes the time period, 4/1/07 – 5/18/07. Click on “Generate”.

| 5. | Here are the results by dictation. |
| 6. | To run a summary report by your MT Group. Change the “With Detail By” to MT Group and click on “Generate”. |
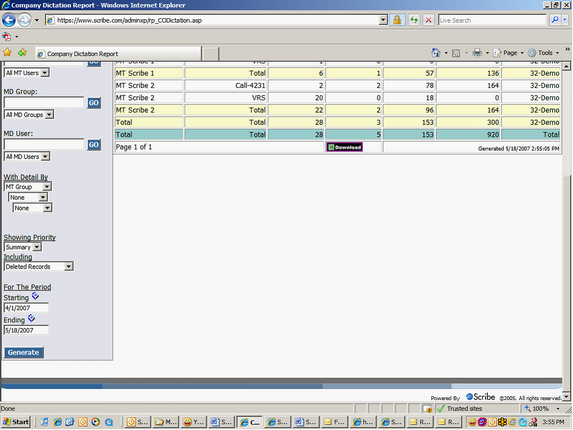
| 7. | Here is the summary report. |