MD and MT Setup
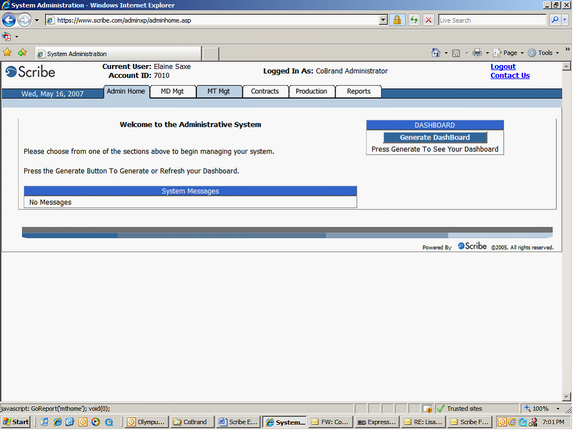
Go to www.scribe.com/adminxp. Log in using your CoBrand Administrator Username and Password. Please make sure your AdministratorType is set for “CoBrand Administrator.” Also noted on this page is the scheduled downtimes.
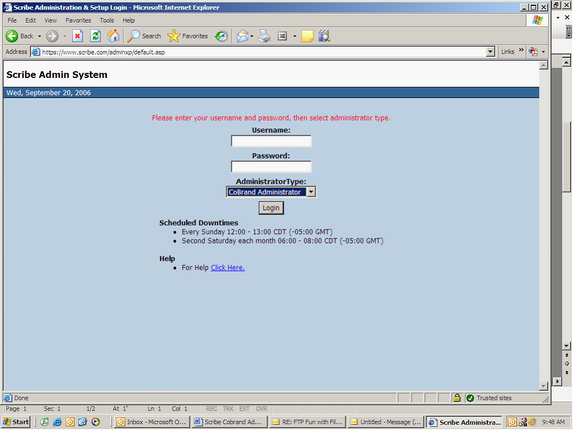
This page gives you information regarding any breaking news regarding the Scribe System and message regarding your account.
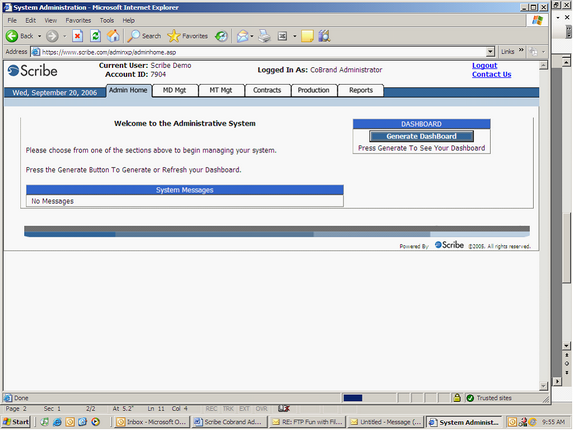
Please note the tabs to the right of the date. In this user guide, the MD Mgt and MT Mgt tabs will be covered. The Reporting Tab will be covered in the EZ Dictate Advanced Operations Guide. Please note the Contracts and Production tab are not applicable to EZ Dictate. Click on the “MD Mgt” tab.
MD Management
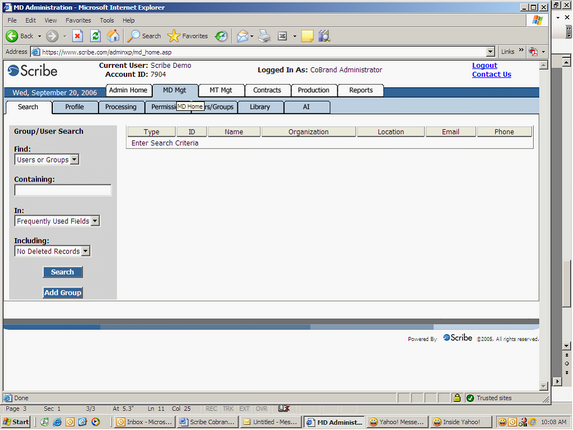
Adding a New Group
Click on the “Add Group” button.
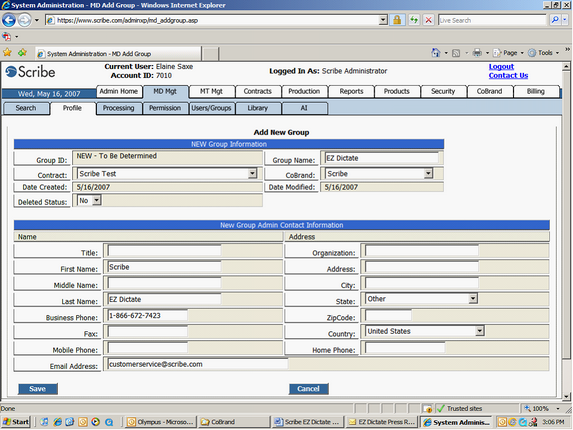
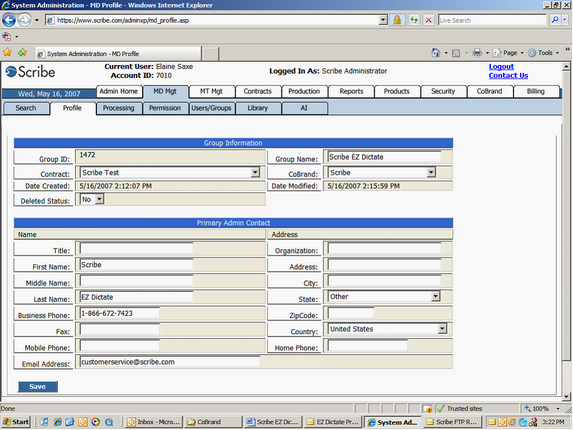
Profile Tab
Enter the Group Name and Contract. The contract selected should be your cobrand name.
To enter the Primary Admin Contact, click on the “New” button and complete contact information.
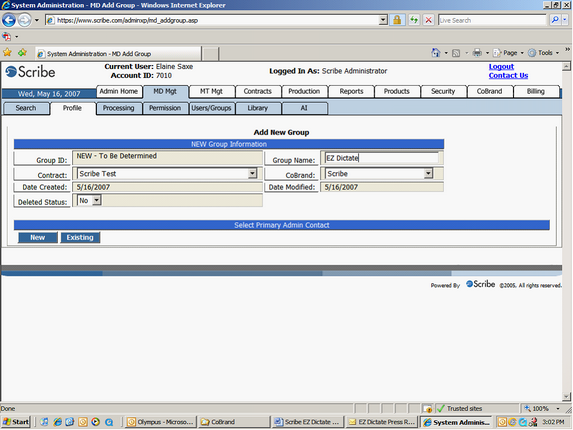
Please note the required fields are First and Last Name, Business Phone, and Email Address. Click on the “Save”.
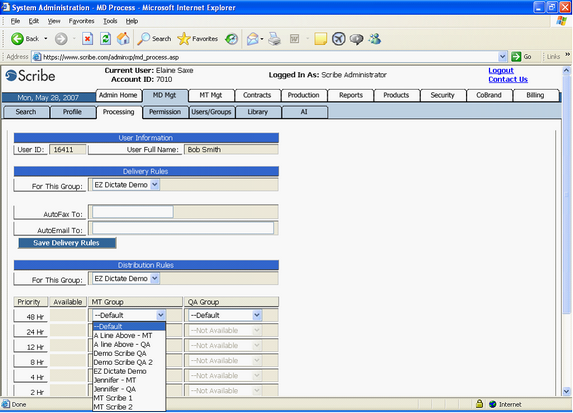
Processing Tab
Select the desired MT Queue Name from the drop down menu for the default MT Group and QA Group. Click on “Save Distributions”.

Permission Tab
Permissions are not granted at the group level.
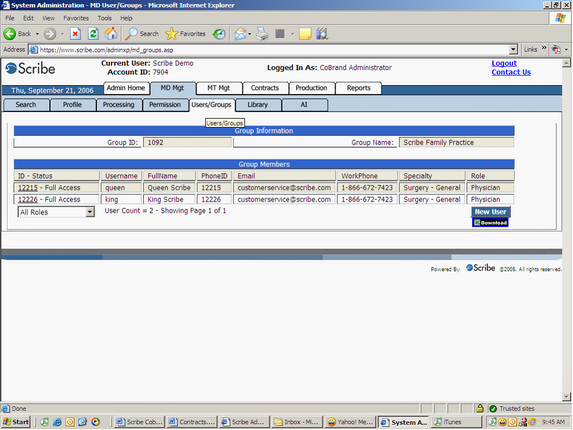
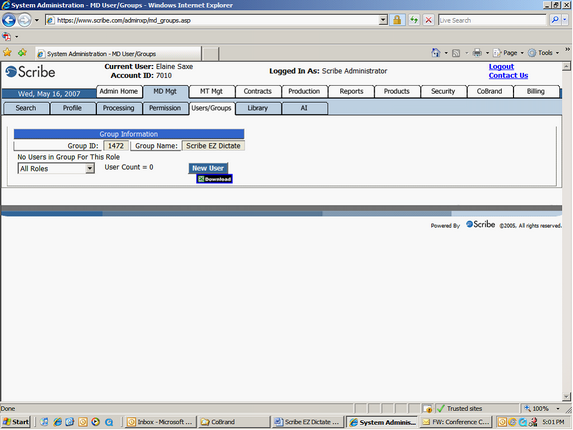
Users/Groups Tab
This tab shows you the users that are currently members of this group. By clicking on the Excel Download button, you can download the list to Excel. For instructions on adding new users, please see the New User section of the guide.
Library Tab
Not applicable to EZ Dictate
AI
Not applicable to EZ Dictate
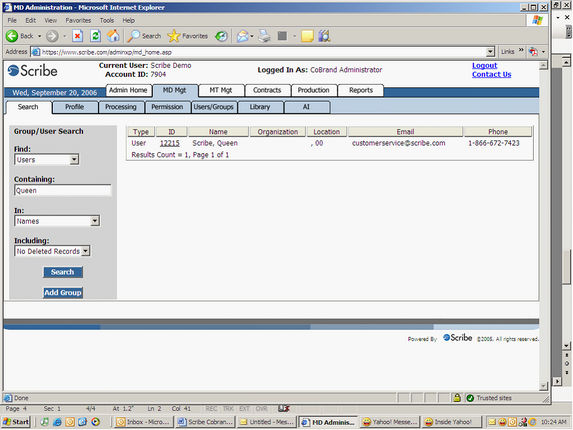
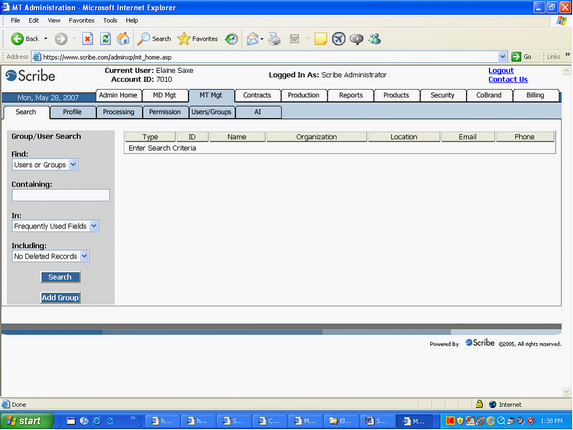
Searching on Existing Groups/Users
You can narrow down your search by selecting search criteria.
For example, to search for a user with the name Queen, here is the information that would be typed into the search criteria. Click on the “Search” button. Please note that you must click on the “Search” button rather than the “enter” key in order to search. To select a user from search results, click on the ID number. In this example, the ID number 12215.
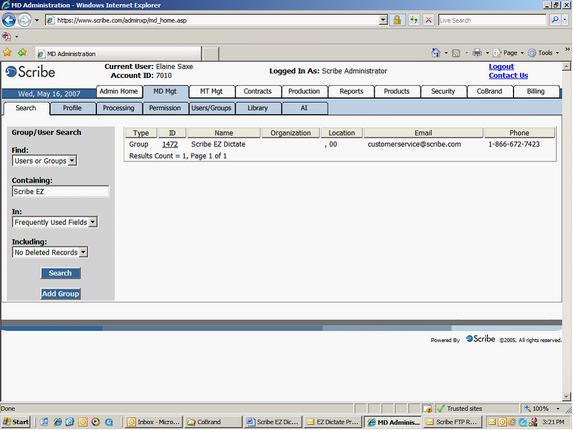
Adding a User to an existing group.
Locate the Group using the search criteria.
In this example, we will be adding a user to the Scribe EZ Dictate Group. Click on the Group ID to select the group.
Click on the “Users/Groups” tab.
Click on the “New User” button in the bottom, right-hand corner.
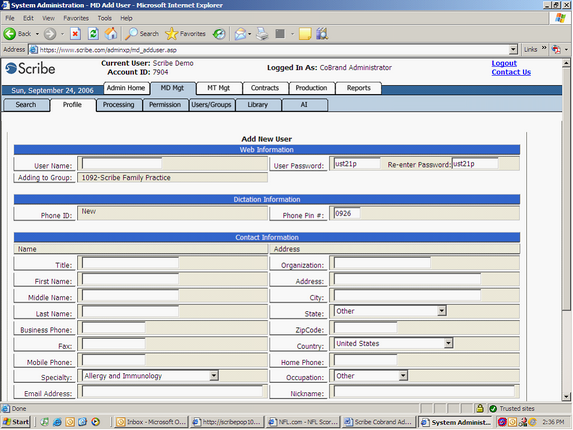
Profile Tab
Enter the “User Name.” Scribe recommends using the user’s first initial and last name. The other required fields in the contact information is First Name, Last Name, Business Phone, and email address. Click on the “Save” button.

Processing
Select the desired MT Group from the dropdown menu for both MT Group and QA Group.
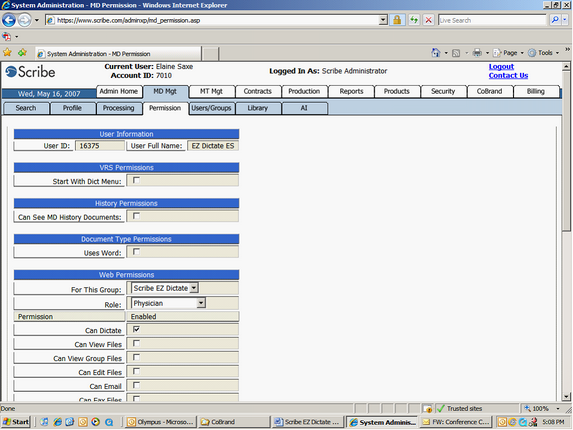
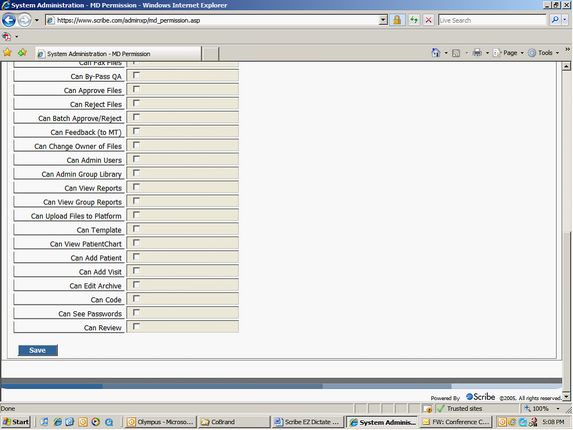
Permission
Click on the Permission tab.
Click on the “Can Dictate” check box. Click on the “Save” button.
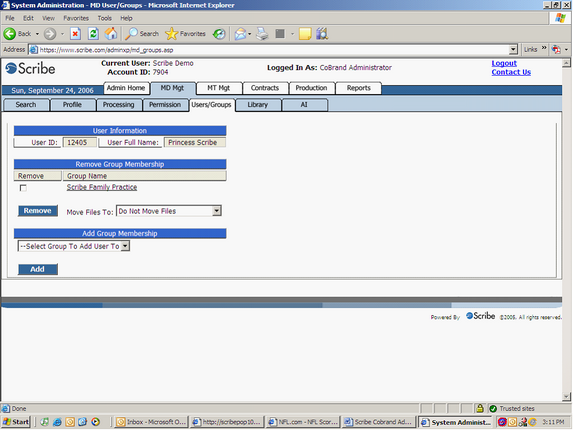
Users/Groups
Click on the Users/Groups tab.
The page will indicate what groups this user belongs to. You can also add other groups to this user by selecting the group from the drop down menu and select “Add.” You can also remove this user from the group by clicking on the checkbox and selecting “Remove.” If you add a group to a user’s access, you must also update the permissions on the “Permissions” tab.
Library
Not applicable to EZ Dictate.
AI
Not applicable to EZ Dictate.
MT Management
Click on the “MT Mgt” tab.
Click on Add Group.
Profile
Type in the Group Name and click on “New”.
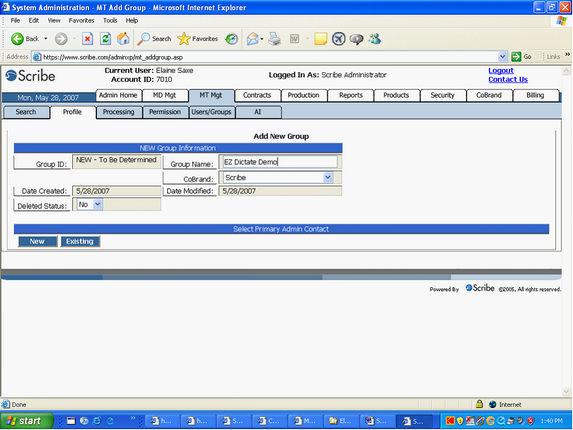
Please note the required fields are First and Last Name, Business Phone, and Email Address. Click on the “Save”.

Processing
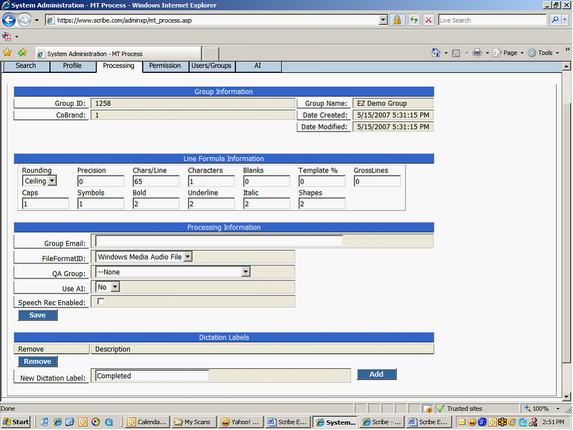
Click on the Processing Tab. When using EZ Dictate, the only setup that is required for the processing tab is the Dictation Labels.
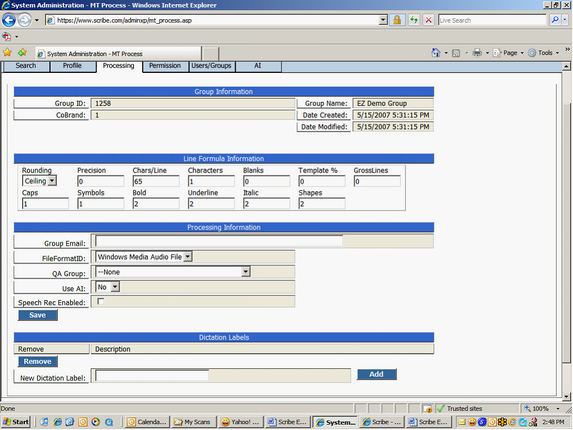
Type in the new label name and click “Add”.
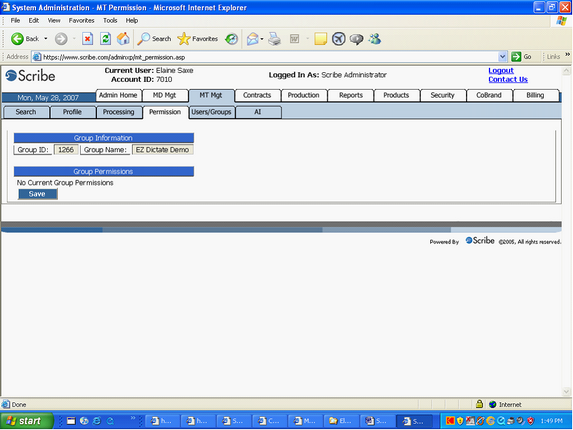
Permission
Permissions are not granted at the group level.
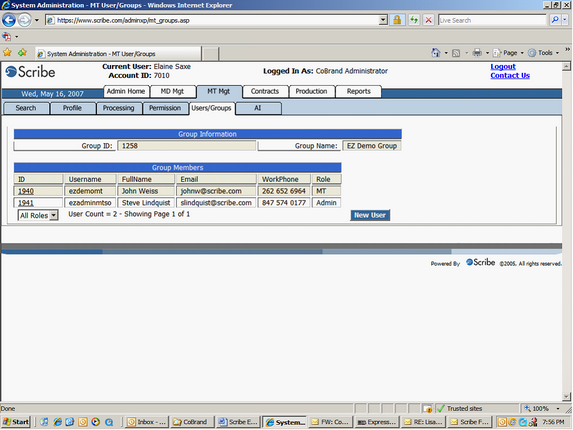
Adding a User to an existing group.
In this example, the MT Group name is EZ Demo Group. Click on “Search” button to bring up your group and click on the group ID.

Click on the Users/Groups Tab.

Click on “New User”.
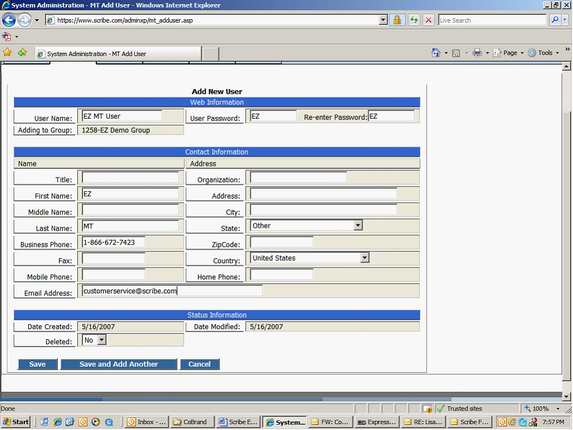
Profile
The required fields are User Name, User Password, and Re-enter Password, First Name, Last Name, Business Phone, and e-mail address. Click on “Save”.
Processing
Not applicable to EZ Dictate
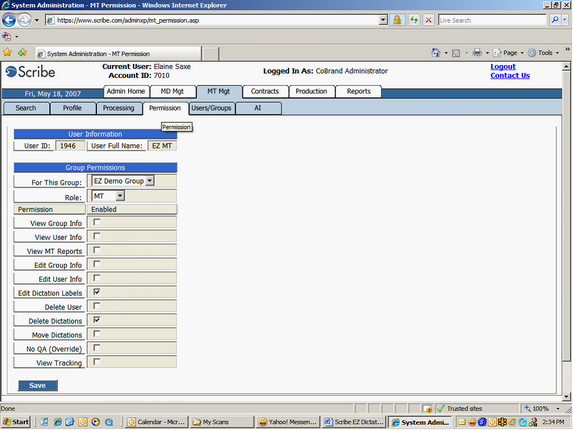
Permission
For basic setup, click on “Edit Dictation Label” and “Delete Dictation” check boxes. Click on the “Save” button.
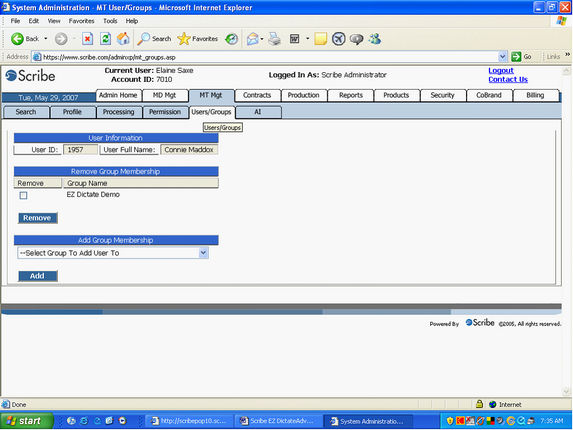
Users/Groups
Click on the Users/Groups tab. The page will indicate what groups this user belongs to. You can also add other groups to this user by selecting the group from the drop down menu and select “Add.” You can also remove this user from the group by clicking on the checkbox and selecting “Remove.” If you add a group to a user’s access, you must also update the permissions on the “Permissions” tab.
AI
Not applicable to EZ Dictate